Step-by-Step Edits for the Perfect Profile Picture!

Learn to Use Your Smartphone’s Photo Editing Features for a Perfect Profile Pic!
In my last blog on creating the perfect profile picture, I linked to a few free photo editing options and suggested the best way to create a flattering, natural photo was to adjust brilliance, highlights, shadows, and color temperature. It’s incredibly easy to over-edit a photo and to walk away from it looking like a caricature of yourself. That ease has only extrapolated with the prevalence of filter presets. I firmly believe caricatures should be reserved for carnivals (funnel cake should be an all-the-time availability, but caricatures not-so-much), so, with that, here are my best tips for ensuring a perfect edit on your profile picture.
-
Use Your Smartphone
Regardless of whether you shot your photo on your phone or camera, you can edit it in your smartphone. To illustrate the basics of photo editing, I will be using a combination of the native iPhone photo editing tools and VSCO, a cross-platform photo editing app. So while my screenshots are iOS screens, the editing concepts I’ll be sharing should apply equally well for Android users. If you shot your photo using a camera, transfer the file from your computer to your phone.
If you are an iPhone user, common methods for doing this include iMessage, iPhoto, or iCloud. Other methods that should work for anyone, regardless of the platform include email, or apps like Dropbox, Box or Google Drive.
If you shot your photo using your phone, it’s right there in your camera roll and you won’t need to transfer a thing.
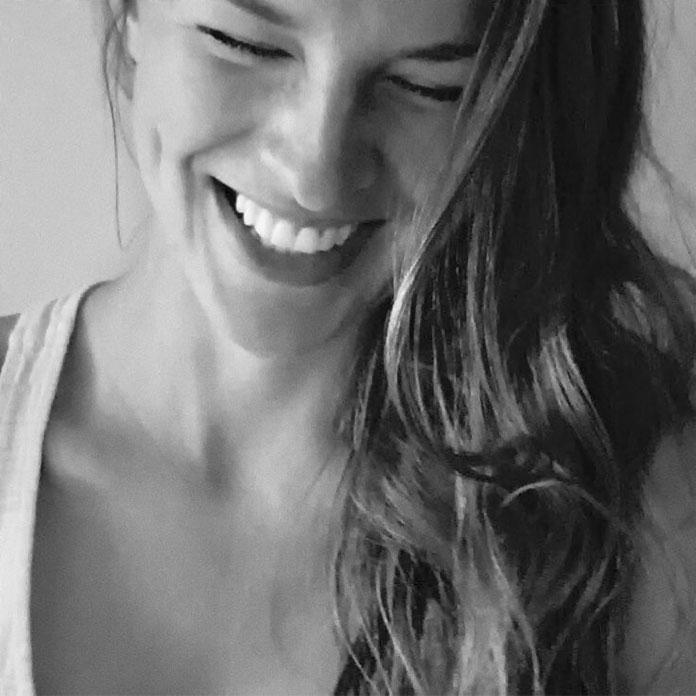
Open your VSCO app and import your profile picture. Once it’s added to your studio, highlight it (you’ll see a black frame added to the image) and move it into the editor.
-
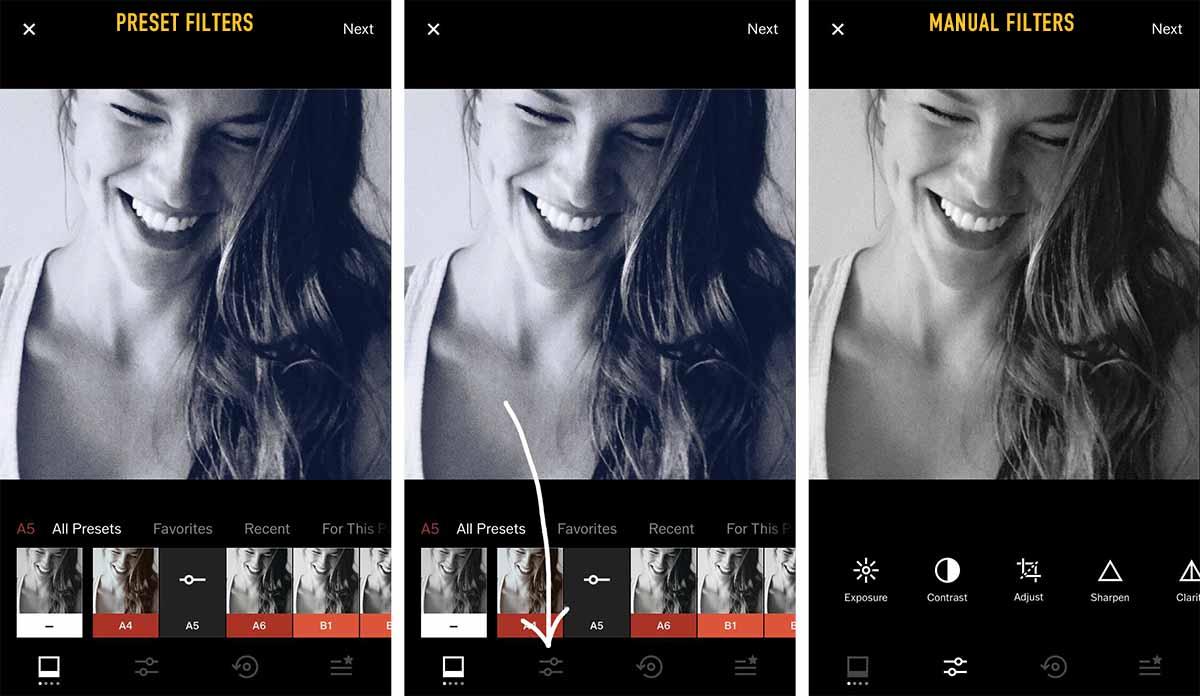
Ignore the Presets
You’ll see a carousel of filters — resist the urge to apply any of them. Sure, some make a difference in the right direction, but they’re intoxicating and you should really apply normal edits. Otherwise, you’ll end up beguilingly blue. Not what you want – Skip into the manual edits.
-
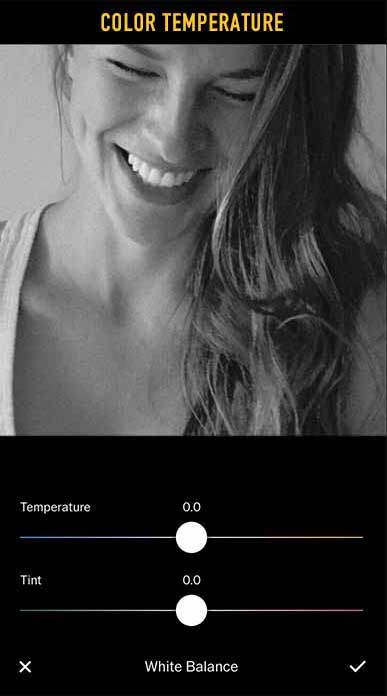
Color Balance
If your photo is already in black + white (like my example), color balance isn’t important. If you’re working with a full-color photo, that’s where you should start. Slide to “white balance” and scroll between yellow/blue light to make sure it’s true-to-life, and pink/green to make sure your skin tone is well-represented. You want to look warm and alive without looking radioactive. (Sometimes, if I hesitate in editing a photo, I’ll turn the saturation all the way up to see if it becomes Very Yellow or Very Pink, and then I’ll return to my white balance and move those sliders into a more neutral tone. Don’t forget to then turn your saturation back to 0.0)
-
Highlights and Shadows
For your highlights and shadows, you can either open the “Tone” editor in VSCO —or— save your current photo edits back to your camera roll.
The disadvantage of the first approach is the VSCO Tone editor only allows you to reduce the contrast of highlights and shadows, not increase the contrast. To do that, you must exit the Tone editor and open the Contrast editing tool. Assuming this is acceptable, you can adjust the highlights and shadows within VSCO by toggling between Contrast and Tone editors.
My preference is to save the image back to your camera roll where you can easily make these edits using the native photo editing tools. VSCO does an amazing job with color balancing — a far better job than you can accomplish in your camera app — but, if you want natural edits, it’s time to move back to your camera roll.
Once you’re back in your camera roll, select “Edit” at the bottom of your photo to apply adjustments. Open “Light” and click the stacks to expand your options. Now your “Highlights” and “Shadows” sliders will allow you to increase or diminish the contrast on the image.

Your objective here is to make sure your eyes and smile have luminance (by increasing your highlights) but the edges of your face don’t lose their distinction (which happens when your highlights are too bright).
Your shadows should create drama and gravity in your image without compromising the details of your features.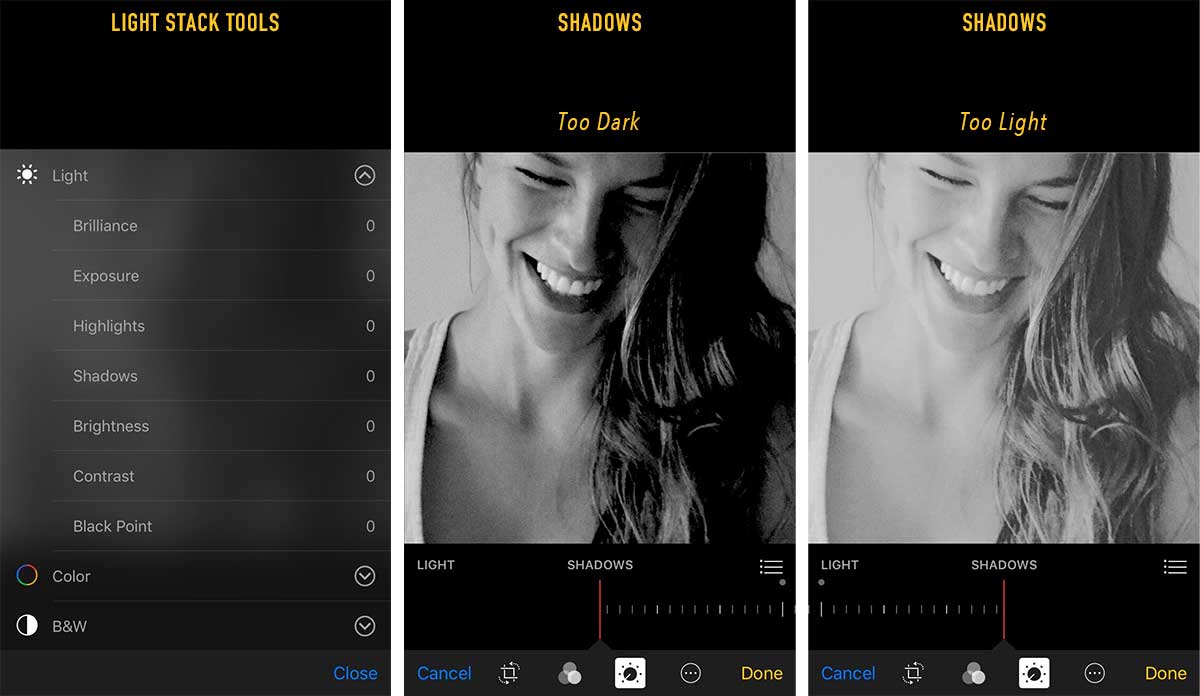
-
Brilliance
Brilliance is also in your “Light” stack. This is a more forgiving edit than “Exposure.”Brilliance will apply light into shadowed areas and increase drama in your brightest tones, which makes it a great editing tool to finish your image. Again: you want to make sure your features are shown in their most natural way, so don’t allow the shadows to envelop your image, but don’t allow your bright highlights to become so bright they wash out parts of your face.
If you notice your photo is still too bright or too dark, “Exposure” will help to regulate that. Open the edit and move your slider left and right until you get the proper lighting.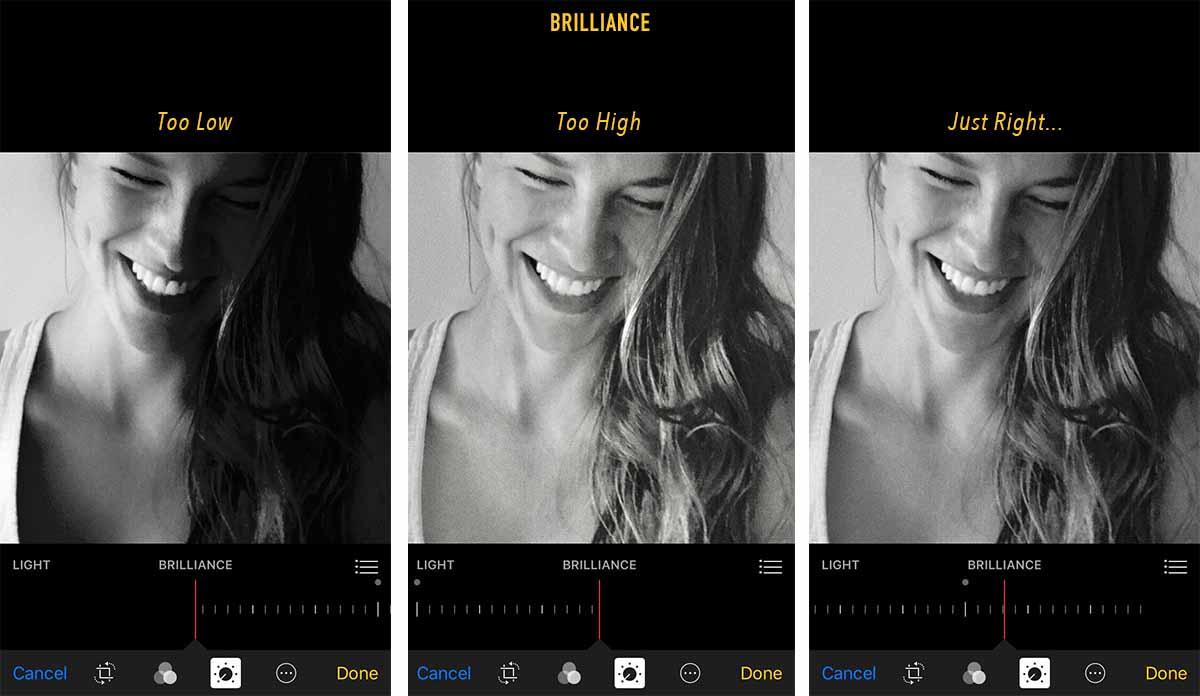
-
Finishing Up
Once you’ve found your most ideal balance, select “Done” at the bottom right. The export arrow at the bottom left will appear and you can send the final image to your preferred sharing service (mine shows my email, iMessage, Dropbox, and a few others) so you can access it once again on your computer.
These edits will reliably guarantee a natural and professional profile picture!